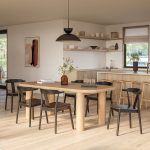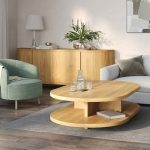
A small table can be a versatile and charming addition to any room. Whether you need a bedside table, a plant stand, or a cozy corner accent, crafting your own DIY small table allows for customization and a sense of accomplishment. Plus, it’s a fantastic way to repurpose materials and add a unique touch to your decor. Let’s explore the process of creating your own DIY small table, from gathering materials and tools to assembling and finishing your creation.
Planning Your Table: Size, Design, and Purpose
Before you begin, it’s essential to plan the size, design, and intended purpose of your small table. This will guide your material selection and construction approach.
Size
Determine the ideal dimensions for your table based on its intended location and function. Consider the available space and the height of surrounding furniture.
Design
Sketch out your desired design, considering the table’s shape, style, and any additional features like shelves or drawers. Look for inspiration online, in magazines, or from existing furniture pieces.
Purpose
Define the table’s primary function. Will it serve as a bedside table, a plant stand, a side table for drinks and snacks, or a decorative accent piece? This will influence your material choices and construction techniques.
Gathering Your Supplies: Essential Tools and Materials
Once you’ve finalized your design, it’s time to gather the necessary tools and materials.
- Wood: Select a type of wood that’s sturdy and suits your desired aesthetic. Popular options include pine, plywood, or even reclaimed wood for a more rustic look.
- Saw: A hand saw, circular saw, or jigsaw will be needed to cut the wood to the desired dimensions.
- Drill: A drill with various drill bits is essential for creating pilot holes and attaching screws.
- Screws: Choose screws of appropriate length and size for securing the table’s components.
- Wood Glue: Wood glue adds additional strength and stability to the joints.
- Measuring Tape and Pencil: Accurate measurements and markings are crucial for precise cuts and assembly.
- Level: A level ensures your table is stable and even.
- Sandpaper: Sandpaper in varying grits is used to smooth rough edges and surfaces, creating a polished finish.
- Paint or Stain (Optional): Add color and protect the wood with paint or stain. Choose a finish that complements your decor style.
- Polyurethane or Sealer (Optional): Apply a protective topcoat of polyurethane or sealer to enhance durability and protect against spills and stains.
Building the Tabletop: The Surface of Style
The tabletop is the focal point of your small table, so choose a design that complements your overall aesthetic.
- Solid Wood Top: A single piece of wood, carefully sanded and finished, creates a classic and elegant tabletop.
- Plywood or MDF Top: Plywood or MDF offer a more affordable and versatile option. You can paint, stain, or even add decorative elements like tiles or decoupage to personalize it.
- Reclaimed Wood Top: For a rustic or vintage-inspired look, consider using reclaimed wood from old pallets, crates, or other salvaged materials.
Tabletop Considerations:
- Size and Shape: Cut the wood to your desired dimensions and shape, ensuring it’s large enough to serve its intended purpose.
- Smooth Finish: Sand the edges and surfaces of the tabletop to create a smooth and splinter-free finish.
- Finishing Touches: Apply paint, stain, or a clear sealant to protect the wood and enhance its beauty.
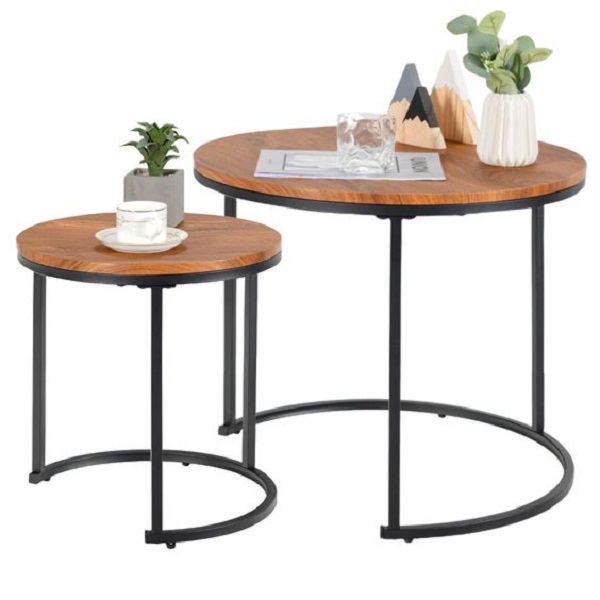
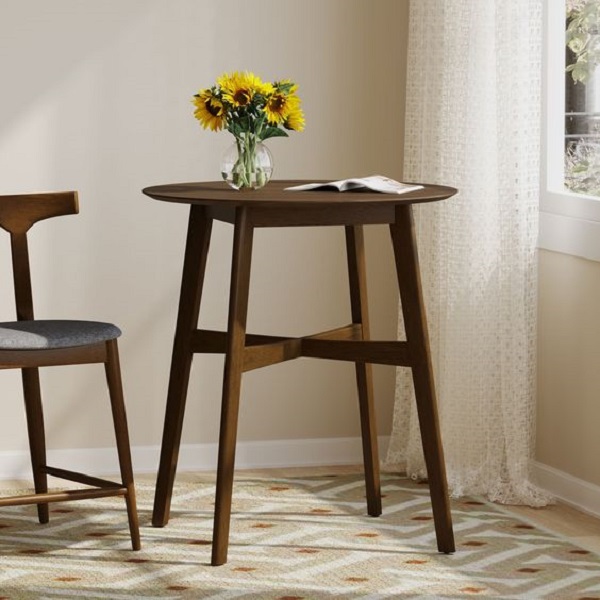
Constructing the Base: Stability and Support
The base of your small table provides crucial support and stability. There are several design options to choose from, each offering its own aesthetic and functional advantages.
-
Four Legs: A classic and straightforward design, four legs provide sturdy support for your tabletop. You can choose straight legs for a modern look or turned legs for a more traditional feel.
-
Pedestal Base: A pedestal base, consisting of a central column and a wider base, offers a sleek and space-saving option. It’s particularly suitable for smaller tables or those placed in tight corners.
-
Trestle Base: A trestle base features two A-shaped supports connected by a stretcher. This design adds a touch of rustic charm and can be easily adapted to various table sizes.
-
Hairpin Legs: Hairpin legs, with their sleek and minimalist design, offer a modern and airy feel. They are a popular choice for contemporary or mid-century modern interiors.
Base Construction Tips:
- Secure Attachments: Use wood screws and wood glue to securely attach the legs or base to the tabletop. Pre-drill pilot holes to prevent the wood from splitting.
- Leveling: Use a level to ensure the base is even and the tabletop is stable. Adjust the legs or base as needed to achieve a level surface.
- Reinforcements: For added stability, consider adding corner braces or crossbars to the base structure.
Finishing Touches: Polishing and Protecting
Once your small table is assembled, it’s time to add those finishing touches that enhance its beauty and durability.
-
Sanding and Smoothing: Thoroughly sand all surfaces of the table, including the legs or base, to remove any rough edges or imperfections. Start with a coarser grit sandpaper and gradually move to a finer grit for a smooth and even finish.
-
Paint or Stain: If desired, apply paint or stain to the table to add color and protect the wood. Choose a finish that complements your décor style and personal preferences.
-
Sealing: Apply a protective topcoat of polyurethane or other sealant to enhance durability and protect the wood from moisture, spills, and scratches.
Finishing Tips:
-
Multiple Coats: Apply multiple thin coats of paint or stain, allowing each coat to dry completely before applying the next.
-
Sanding Between Coats: For an ultra-smooth finish, lightly sand the surface with fine-grit sandpaper between coats of paint or sealant.
-
Protective Pads: Attach felt pads or furniture glides to the bottom of the legs to protect your floors from scratches.
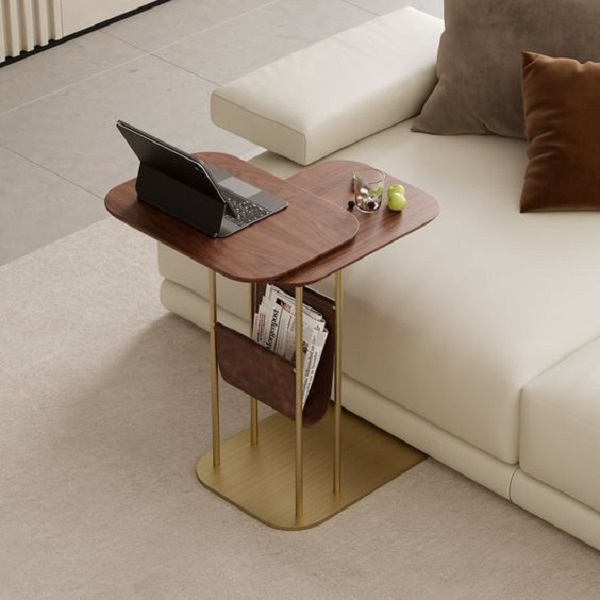
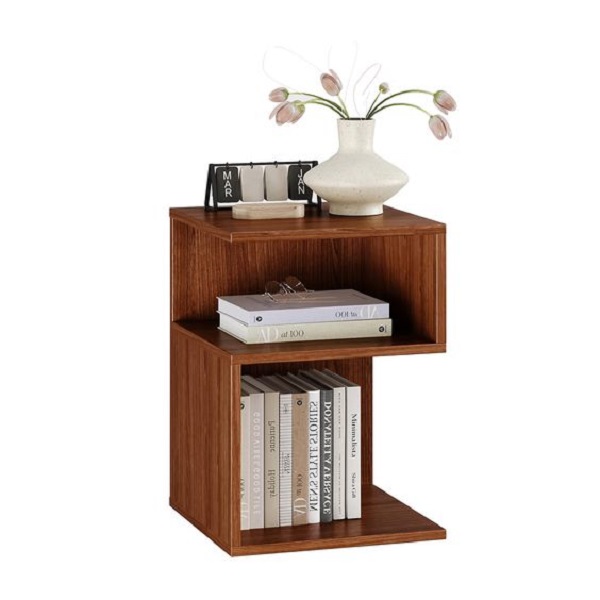
Creative Customizations: Adding a Personal Touch
Beyond the basic construction, consider these creative customizations to make your DIY small table truly unique.
-
Decorative Elements: Add decorative elements like stencils, decoupage, or even tiles to personalize your tabletop.
-
Shelves or Drawers: Incorporate shelves or drawers into your design for added storage and functionality.
-
Live Edge: If you’re using a solid wood top, consider leaving one edge with its natural, organic shape for a rustic and unique touch.
-
Colorful Legs: Paint the table legs in a contrasting color or add a fun pattern for a playful and eye-catching design.
Maintenance and Care: Preserving Your Creation
Proper care and maintenance are crucial for ensuring the longevity of your DIY small table.
-
Regular Cleaning: Wipe down the table surface regularly with a damp cloth and mild soap to remove dust and spills.
-
Protect from Heat and Moisture: Use coasters and placemats to protect the surface from hot dishes and spills. Wipe up any spills immediately to prevent water damage or staining.
-
Avoid Direct Sunlight: Prolonged exposure to direct sunlight can fade or discolor the wood. If possible, position your table away from direct sunlight or use curtains or blinds to protect it.
-
Refinishing: If the paint or sealant starts to show signs of wear and tear, consider refinishing the table to restore its appearance.
Conclusion
Building a DIY small table is a rewarding and creative project that allows you to personalize your space and add a functional piece of furniture to your home. With careful planning, the right materials, and a bit of woodworking know-how, you can craft a unique table that complements your décor and serves your specific needs.
Remember, the beauty of a DIY project lies in the personalization and the sense of accomplishment it brings. So, gather your tools, unleash your creativity, and embark on this fulfilling journey of crafting a small table that you’ll be proud to display in your home.