Flowers have the power to brighten any space, adding a touch of nature’s beauty and a burst of color. But sometimes, the perfect vase to showcase those vibrant blooms can be elusive. Don’t fret! Why not unleash your inner artist and create a one-of-a-kind DIY flower vase? Not only is it a fun and rewarding project, but it also allows you to personalize your home decor and embrace sustainability by upcycling everyday objects.
Repurpose and Upcycle for Eco-Friendly Elegance
Before you rush out and buy a new vase, take a look around your home. There’s a good chance you already have hidden treasures waiting to be transformed into stunning flower holders. Here are some readily available items that can be given a new lease on life:
- Glass Bottles: Empty wine bottles, juice bottles, and even decorative glass containers can be easily cleaned and used as vases. For a touch of whimsy, consider mismatched shapes and sizes for a bohemian flair.
- Mason Jars: These ever-versatile jars are perfect for creating a rustic or farmhouse aesthetic. Leave them clear or paint them in your favorite colors for a pop of personality.
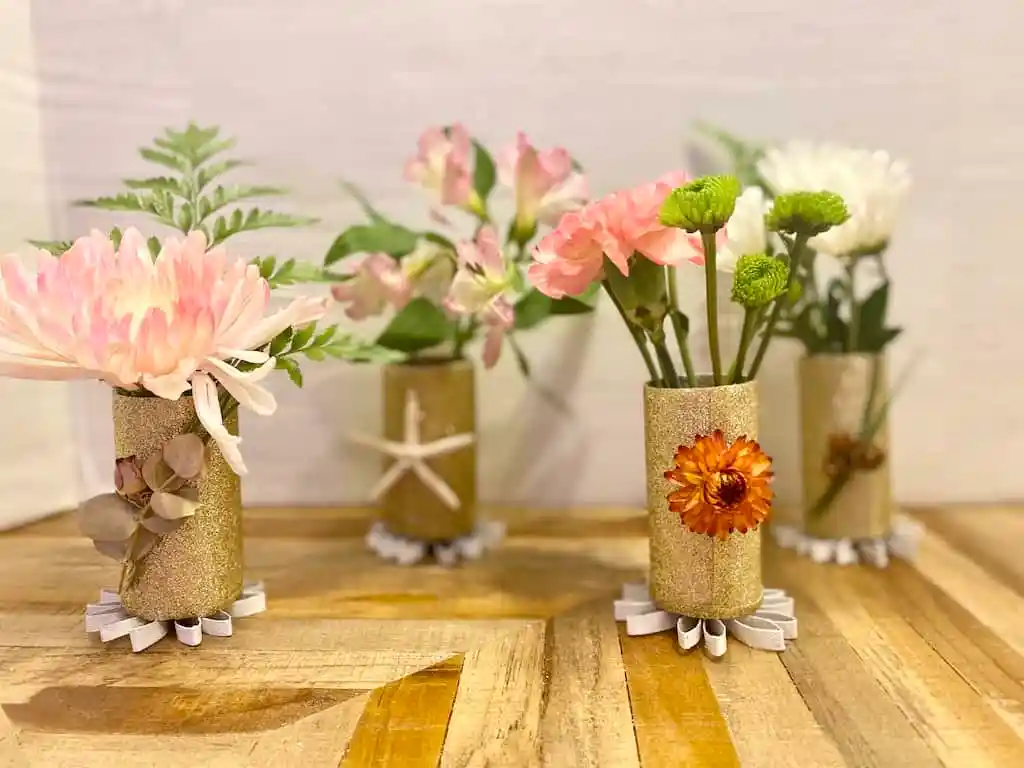
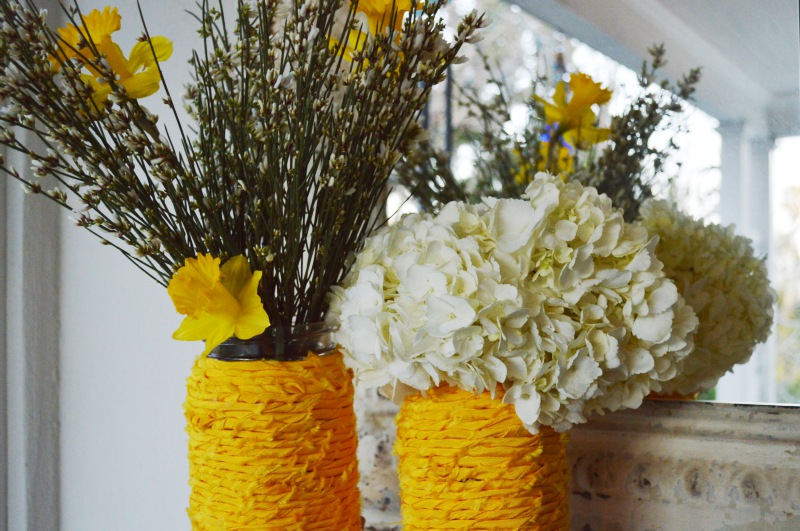
- Tin Cans: Food cans of various sizes can be transformed into charming and unique vases. Remove labels and paint them in metallic hues or playful patterns.
- Ceramic Mugs: Chipped mugs or those that have lost their mates don’t have to be discarded. Drill a drainage hole in the bottom (with adult supervision if necessary) and create a quirky mini vase.
Get Crafty: DIY Projects for Every Skill Level
Once you’ve chosen your upcycled base, it’s time to unleash your creativity! Here are a few DIY projects for every skill level:
Beginner-Friendly:
- Washi Tape Magic: This is a quick and easy way to add a decorative touch to any vase. Washi tape comes in a vast array of colors, patterns, and even metallic finishes. Wrap your vase in stripes, create geometric patterns, or let your imagination run wild.
- Stenciled Elegance: For a more sophisticated look, consider stenciling a design onto your vase. Floral patterns, geometric shapes, or even inspirational quotes can add a personalized touch. Simply choose a stencil design, secure it to the vase, and sponge paint your chosen color.
Intermediate:
- Decoupage Delight: Decoupage is a decorative technique that involves layering patterned paper, fabric, or napkins onto a surface. This method allows you to incorporate vintage elements, photographs, or even sheet music onto your vase. Seal the finished product with a coat of varnish for added protection.
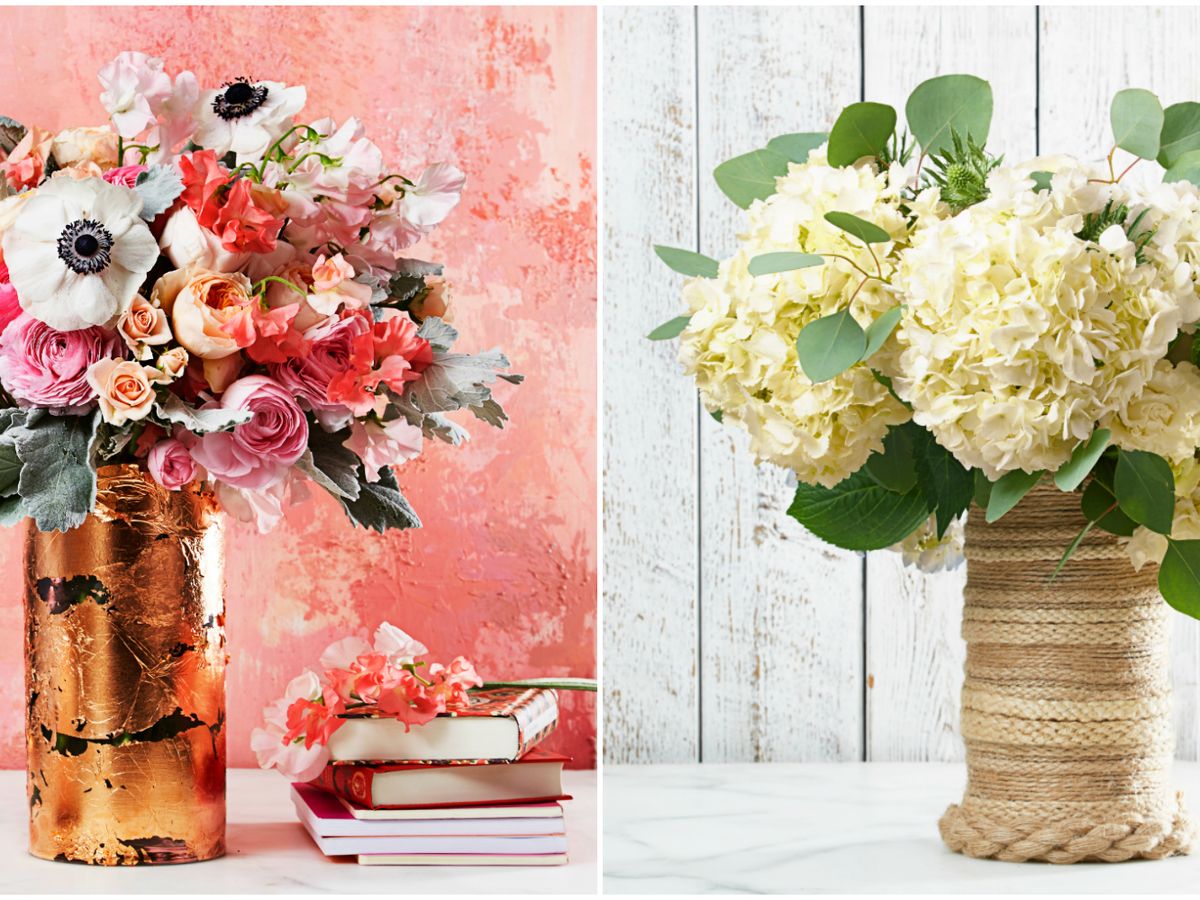
- Spray Paint Transformation: Give your vase a complete makeover with a coat of spray paint. Metallic finishes like gold or silver can add a touch of luxury, while matte or gloss finishes offer a more modern look.
Advanced:
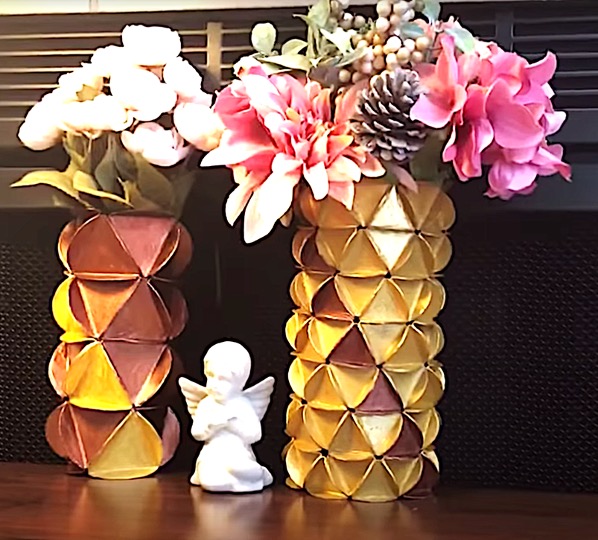
- DIY Clay Creations: For those with a more artistic bent, consider crafting your own vase from air-dry clay. This allows for complete creative freedom – you can sculpt organic shapes, geometric patterns, or even add texture and embellishments.
- Macrame Magic: Macrame, the art of knotting cord, can be used to create a beautiful and unique vase cover. This technique adds a bohemian touch and allows the light to filter through in a captivating way.

Pro Tips for Perfect DIY Vases
- Sealing the Deal: For porous materials like wood or terracotta, ensure you seal the interior of the vase to prevent water leakage. A waterproof sealant or acrylic paint will do the trick.
- Drainage Solutions: While some flowers prefer shallow water, others thrive with proper drainage. If your vase doesn’t have a drainage hole, consider adding a layer of pebbles or decorative stones at the bottom to elevate the stems and prevent waterlogging.
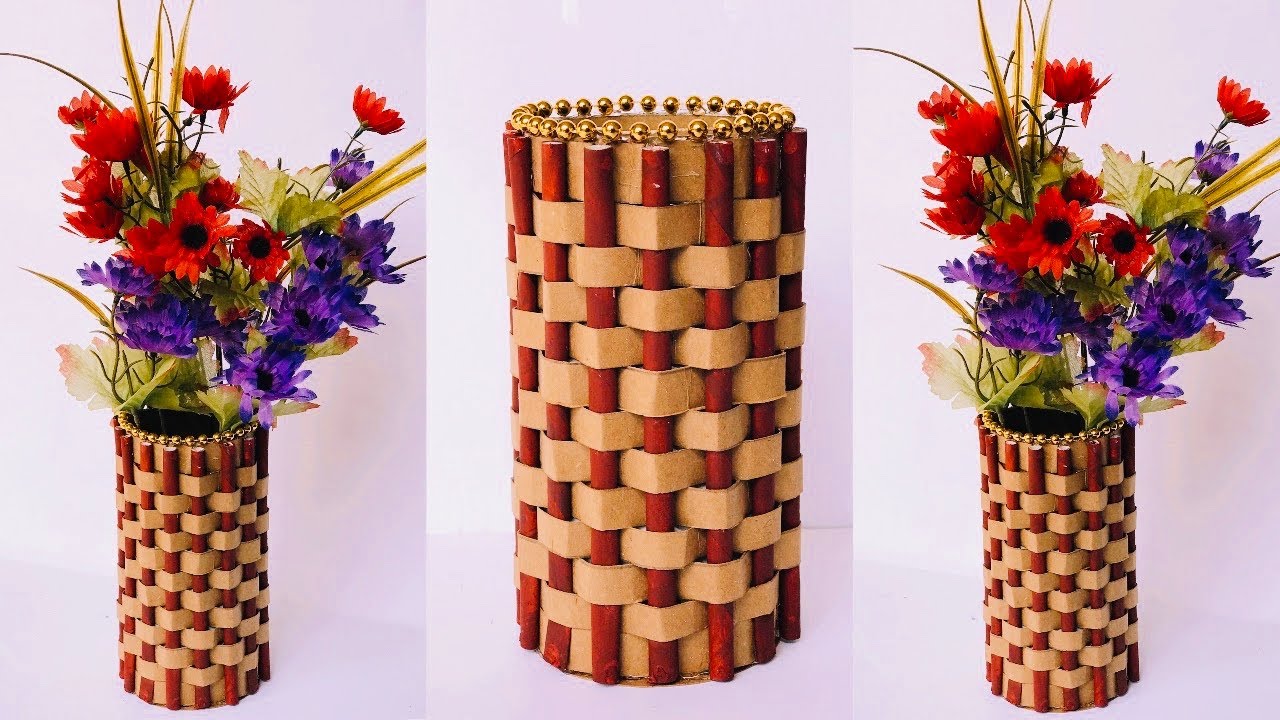
- Liner Love: For non-watertight containers like baskets or woven objects, use a plastic liner to hold the water and flowers. This allows you to enjoy the beauty of the natural material while keeping your vase functional.
- Safety First: When working with glass or sharp objects, always exercise caution. Adult supervision is recommended for younger crafters.
Embrace the Imperfections
The beauty of DIY projects lies in their unique character. Don’t strive for absolute perfection; embrace the slight imperfections that add a personal touch to your creation. A hand-painted design with a slightly uneven stroke or a repurposed bottle with a vintage charm – these are the elements that tell a story and make your DIY flower vase truly special.
The Joy of Display
Once your masterpiece is complete, it’s time to find the perfect spot to showcase your creation. Here are some ideas:
- Centerpiece Magic: Create a stunning centerpiece for your dining table or coffee table by grouping several DIY vases of varying sizes and styles. Fill them with a mix of flowers and greenery for a vibrant and eye-catching display.
- Shelf Appeal: Add a pop of color and texture to your shelves by displaying your DIY vases. They can stand alone or be filled with a single stem for a minimalist touch.
- Windowsill Wonder: Brighten up your windowsill with a collection of DIY vases filled with colorful blooms. Natural light will enhance the vibrancy of the flowers and create a cheerful atmosphere.
- Bathroom Bliss: Even your bathroom can benefit from a touch of floral beauty. A small, upcycled vase filled with delicate blooms can add a touch of spa-like serenity to your space.
Offer tips on displaying different types of flowers to maximize their lifespan
Flower Power: Tips for Displaying Different Blooms
Now that you’ve crafted your stunning DIY flower vase, it’s time to choose the perfect blooms to showcase. But did you know different flowers have specific needs for optimal lifespan? Here are some tips on displaying various types of flowers to maximize their enjoyment:
- Long-Stemmed Beauties: Roses, lilies, and gladiolas thrive in tall vases with plenty of water. Trim the stems at a 45-degree angle before placing them in the vase to maximize water absorption.
- Delicate Delights: Freesia, tulips, and daffodils prefer shallower water. Opt for a shorter vase and fill it just enough to cover the base of the stems.
- Bushy Blooms: Hydrangeas and peonies make a bold statement. Use a wider vase and add floral foam soaked in water to provide support for the heavy blooms.
- Fragrant Favorites: Lilacs and lilies release strong scents that can overpower a room. Display them in a well-ventilated area away from direct sunlight.
- Long-Lasting Loveliness: To further extend the life of your flowers, consider adding a few drops of floral food to the water. This provides essential nutrients to keep the blooms looking fresh longer.
Blooming Ideas in Harmony
By understanding the specific needs of your chosen flowers and pairing them with your DIY masterpiece, you can create a harmonious display that brings life and beauty to your home. Remember, there are no hard and fast rules – experiment, have fun, and let your creativity bloom!
DIY Flower Vases: More Than Just a Container
Creating a DIY flower vase is more than just a craft project; it’s a way to express your personality and add a touch of handmade charm to your home decor. It allows you to embrace sustainability by giving new life to everyday objects, and the finished product serves as a constant reminder of your creativity and resourcefulness. So, gather your materials, unleash your inner artist, and get ready to transform your space with the beauty of blooming ideas and DIY flower vases!

