Stripping wire is a basic electrical skill and an essential step in crimping. Crimping is the process of joining two wires together by compressing a metal connector onto the stripped ends of the wires. The quality of the connection depends on how well the wire is stripped.
Materials Needed:
- Wire stripper
- Wire cutter
- Wire
- Crimp connectors
Step 1: Choose the Right Tool
The first step in stripping wire is to choose the right tool. There are several types of wire strippers available on the market. The most common ones are:
- Manual wire stripper: This tool is used to strip the insulation off the wire by squeezing the handles. It has different-sized holes for different wire gauges.
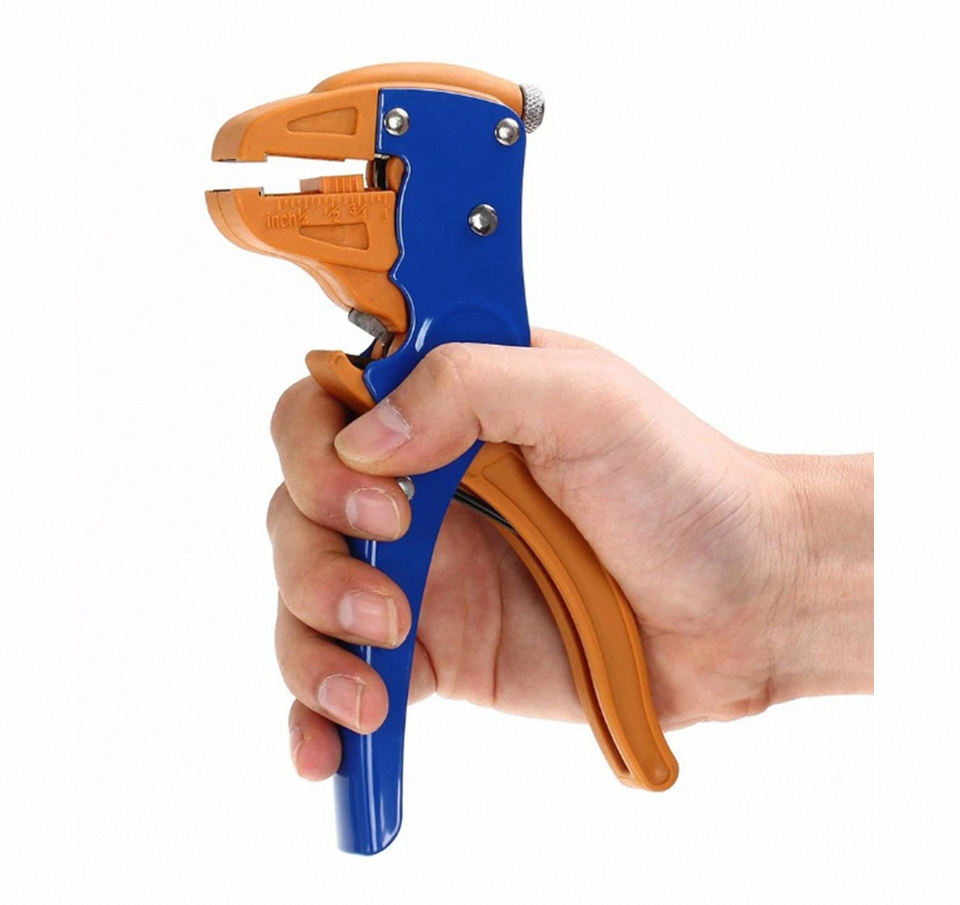
- Automatic wire stripper: This tool automatically adjusts to the wire size and strips the insulation off with a single squeeze of the handles.
- Combination wire stripper-cutter: This tool not only strips the insulation off the wire but also cuts the wire to the desired length.
- Choose the tool that best fits your needs. If you are a beginner, a manual wire stripper is recommended.
Step 2: Choose the Right Wire
The second step is to choose the right wire. The wire gauge must match the crimp connector size. Crimp connectors come in different sizes, and each size corresponds to a specific wire gauge. Using the wrong size connector can result in a poor connection or even a fire hazard.
Step 3: Measure and Cut the Wire
The third step is to measure and cut the wire to the desired length. Use a wire cutter to cut the wire to the correct length. A wire length of about 1/4 inch to 1/2 inch is recommended for crimping.
Step 4: Adjust the Wire Stripper
The fourth step is to adjust the wire stripper. If you are using a manual wire stripper, select the hole that corresponds to the wire gauge. The hole should be big enough to fit the wire but not too big that it cuts the wire.
Step 5: Strip the Wire
The fifth step is to strip the wire. Place the wire in the stripper and squeeze the handles. The insulation will be cut, and you can then pull it off. Make sure to strip enough of the wire to fit inside the crimp connector.
Step 6: Inspect the Wire
The sixth step is to inspect the wire. Check the wire to make sure that the insulation is completely removed. If there are any strands of wire sticking out, trim them with a wire cutter. If there are any nicks or cuts on the wire, cut off the damaged part and strip the wire again.
Step 7: Insert the Wire into the Crimp Connector
The seventh step is to insert the wire into the crimp connector. Make sure that the wire is inserted all the way into the connector. Check the manufacturer’s instructions to see if the wire needs to be inserted in a specific way.
Step 8: Crimp the Connector
The eighth step is to crimp the connector. Use a crimping tool to compress the connector onto the wire. The tool should be adjusted to the correct crimp size for the connector. Apply enough pressure to ensure a secure connection but not too much that it damages the wire.
Step 9: Inspect the Connection
The ninth step is to inspect the connection. Check the connection to make sure that the wire is securely crimped. The connector should not be loose or come off easily. Pull on the wire gently to make sure that it is secure.
Step 10: Repeat the Process
The tenth and final step is to repeat the process for the other end of the wire or for any other wires that need to be crimped. Make sure to use the correct wire gauge and crimp connector size for each connection.
Stripping wire for crimping is a basic electrical skill that is essential for a secure and safe connection. By following these steps, you can ensure that your wires are stripped correctly and that your crimp connections are secure. Always use the correct wire gauge and crimp connector size for each connection and inspect the connection to make sure it is secure.