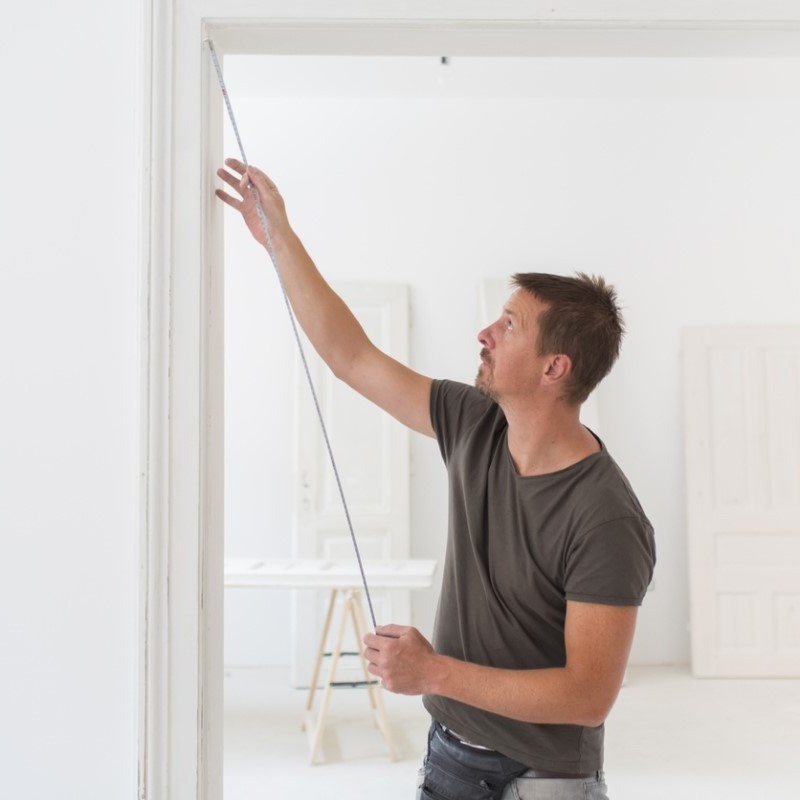
Planning Your Doorway Widening Project
Any project surrounding how to widen a doorway needs careful planning. First, assess if the wall is load-bearing. Next, check that you have all permits in place. Last, gathering the right tools and materials is crucial.
Assessing the Structural Implications
Before you swing a hammer, understand the wall you’re working on. Is it load-bearing? If so, consult a structural engineer. Make no compromises with structural integrity when widening a door. Identify load-bearing walls and plan accordingly.
Obtaining Necessary Permits
Widening a door often means altering a home’s structure. This alters the scope of a simple DIY project. Most cities require permits for such changes. Check with your local building authority. Get the permits before starting work. This ensures your project complies with safety standards.
Selecting the Right Tools and Materials
Gather your tools and materials before commencing work. You’ll need a saw for cutting studs and drywall. A hammer, nails, screws, and a drill are essential too. Don’t forget safety gear like goggles and gloves. Choose quality materials for the new framing. They ensure a solid and lasting doorway.
Preparing the Area
When considering how to widen a doorway, prep work is key. A clear workspace ensures safety and efficiency. Move furniture and cover floors. You need a clean area to operate.
Clearing the Workspace
Start by removing all obstacles. Furniture, decorations, and rugs should go. Ensure nothing hinders your movement or tool access. Clear pathways to avoid trips and falls.
Safety Precautions to Consider
Safety can’t be an afterthought. Wear protective gear such as gloves and goggles. Turn off power circuits if working near electrical lines. Keep a first-aid kit nearby as a precaution. Tidy the space regularly to prevent accidents.
Demolition Process
Before expanding your doorway, you must carefully remove what is currently in place. This phase demands precision and safety precautions, as it involves altering the structure of your home.
Removing the Existing Door and Frame
Start by taking out the existing door and its frame. Unscrew the hinges, and carefully detach the door from the frame. Ensure you have someone to help, as doors can be heavy and cumbersome. Next, remove the frame by prying away the trim and cutting any paint seals. This allows you to see the actual opening and what lies behind the walls.
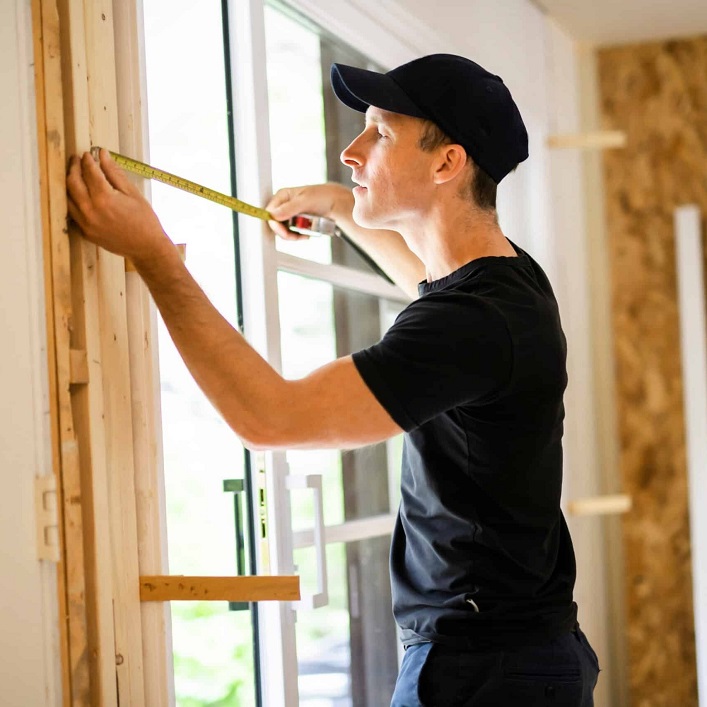
Cutting the Drywall
Once the door and frame are out, mark the new doorway dimensions on the wall. Use a pencil for clear and precise lines, keeping in mind the exact width required. Then, proceed to cut the drywall along these lines with a saw. Always cut smaller sections to avoid damaging the existing structure. Remove the cut pieces, exposing the studs behind them.
Handling Electrical Wiring and Plumbing
During the demolition, you may encounter electrical wiring or plumbing. Safety comes first — always turn off electricity at the breaker box before starting your project. If you’re not experienced with electrical or plumbing work, it’s best to hire a professional. They can safely reroute electrical wiring or plumbing lines that might run through the demolition area. Remember, tackling these elements without proper knowledge could lead to serious injury or costly damage.
Adjusting the Wall Framing
Once the demolition phase is over, it’s time to adjust the wall framing. This step is critical in how to widen a doorway, as it ensures that the new doorway will be structurally sound.
Installing a New Header
Begin with installing a new header above the expanded opening. The header is a beam that transfers weight and prevents the wall from collapsing. Measure the length needed, considering the new width of the doorway. Use a saw to cut a wooden beam to size. Lift the beam into place, securing it with screws or nails. If you are uncertain about this step, consult a professional.
Reinforcing Wall Studs
After setting the header, reinforce the altered wall studs. Ensure each new stud is perfectly vertical and spaced correctly apart, based on local building codes. Use a level for accuracy and fix each stud in place using screws or nails. Double-check the strength and stability of these studs before proceeding with the next steps. Proper reinforcement is vital for the doorway to handle the weight and stress of daily use.
Finishing the Doorway
After adjusting the wall framing, it’s time to finish the new doorway. This involves patching any gaps and sanding down surfaces. Lastly, you’ll add the final touches, such as paint and trim, to give your widened doorway a polished look.
Patching and Sanding Drywall
Once you reinforce the studs and install the new header, examine the wall for gaps or holes. Use drywall compound to patch these areas. Apply the compound smoothly with a putty knife. Let it dry fully, then inspect for unevenness. Sand the patched areas until they blend seamlessly with the existing wall. Keep the space well-ventilated and wear a mask to avoid inhaling dust.
Painting and Trimming
Choose a paint that matches the rest of your room. Apply primer before the paint if you’re dealing with fresh drywall or patched areas. Primer ensures a consistent finish and better adhesion of the paint. After painting, measure the new doorway for trim. Cut trim pieces to size with a saw. Nail the trim in place, carefully aligning it to create a neat frame around the doorway. Caulk any gaps between the trim and wall for a professional appearance.
Proper finishing is crucial when learning how to widen a doorway. It’s the difference between a DIY project that looks amateur and one that appears as if done by a pro.
Installing the New Door
When you’ve finished widening the doorway, the next crucial step is to install the new door. This phase is significant as it requires attention to detail to ensure the door functions properly and complements the new, wider doorway.
Choosing the Right Door Type
Selecting the right door type is essential for your project. Consider the following:
- Style: Pick a door that matches the design of your home.
- Size: Ensure that the new door fits the widened opening.
- Swing: Decide if your door should swing inwards or outwards based on room layout.
- Material: Choose between wood, metal, or composite based on durability and looks.
Think about the purpose of the room and the level of privacy required when choosing a door type. A solid wooden door provides more privacy, while a door with glass panels allows for more light to enter the room.
Door Installation Best Practices
Installing your door correctly is vital. Follow these best practices:
- Check the Fit: Before securing the door, make sure it fits perfectly in the opening.
- Use Shims: To ensure a plumb fit, use shims to adjust the door frame within the opening.
- Secure Hinges: Attach the hinges to the door frame firmly, checking their alignment.
- Test the Swing: After the hinges are in place, test the door’s swing for smooth operation.
- Install Locks and Handles: Lastly, install any door locks and handles, aligning them carefully for proper function.
Take your time during this step to avoid complications like an uneven or sticky door. Remember, a correctly installed door functions smoothly and adds value to your home.
Clean-up and Final Touches
After installing the new door, it’s time for clean-up and final touches. Proper clean-up is critical. It ensures safety and gives your project a polished look. Follow these steps to finish your doorway widening project.
Disposing of Debris
Begin by clearing away all debris from the work area. Here are some tips to manage the waste:
- Collect the Rubble: Gather fragments of drywall, wood, and other materials into a central pile.
- Use Trash Bags: Heavy-duty trash bags can hold small debris pieces. Make sure to seal them well.
- Rent a Dumpster: For larger projects, consider renting a dumpster. It can handle vast amounts of waste.
- Recycle: Separate recyclable materials and dispose of them responsibly.
- Haul Away: If necessary, hire a waste removal service.
Ensure that you check local regulations on waste disposal to make certain you do it correctly.
Adding Aesthetic Finishes and Fixtures
With the site cleaned, add the finishing aesthetic touches.
- Install Baseboards: Fit baseboards at the bottom of the walls to frame the space neatly.
- Add Door Fixtures: Attach any additional fixtures like peepholes or decorative knobs.
- Final Inspections: Look over the doorway. Ensure everything is secure and functions well.
- Decorate: Hang pictures or place plants to blend the new doorway with the room’s design.
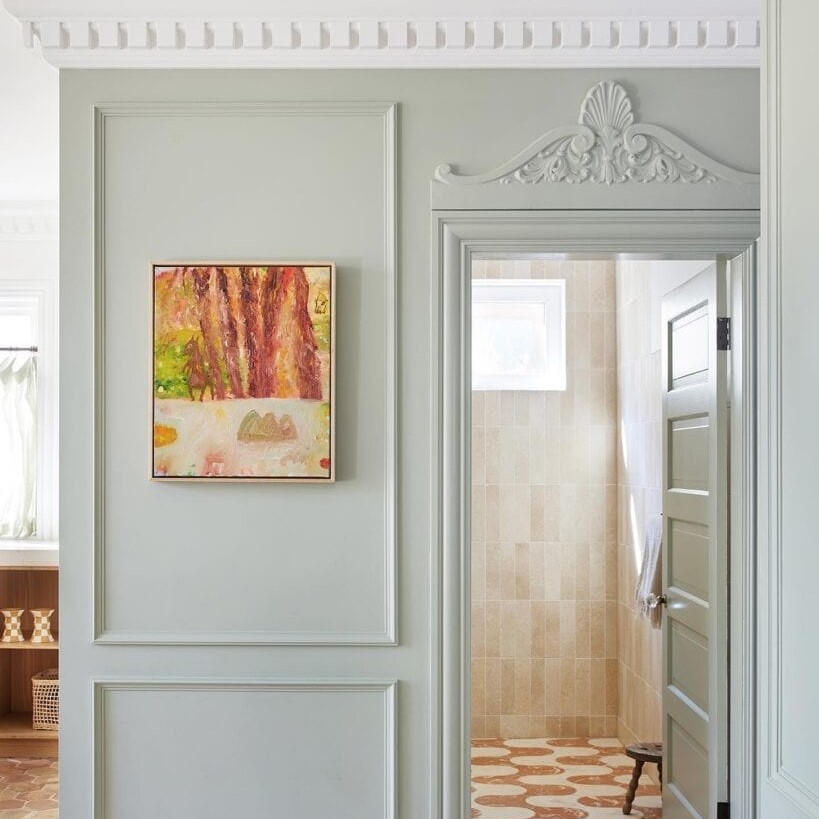
These final efforts show off your handiwork and integrate the new doorway with the home’s existing style. Your widened doorway project is now complete, blending seamlessly and functionally into your home’s structure.