Introduction to Doorway Framing
Framing a doorway is a basic yet vital skill in home construction and renovation. Before diving into the process, it’s crucial to understand what doorway framing involves. Essentially, it refers to constructing the structural support around a door. This framework not only defines the door’s dimensions but also ensures stability and support for both the door and wall.
When tackling the task of framing a doorway, several considerations come into play. For starters, you need a clear plan that aligns with your room’s design. Then, there’s the need for precise measurements. Accuracy in this stage is key to prevent future issues with door installation. Next, the selection of tools and materials will determine the ease of your work and the quality of the final product.
The good news is that framing a doorway is doable for those willing to learn and put in the effort. It involves a series of clear steps, starting with design and planning, moving onto cutting and assembling the framing members, and finishing with the erection of the frame. With the right approach and attention to detail, you’ll create a doorway that’s both functional and a fitting part of your home’s aesthetic.
This guide will help ensure that you have the knowledge needed to start framing a doorway successfully. Let’s get your doorway project off to a strong start!
Necessary Tools and Materials
When engaging in framing a doorway, having the right tools and materials is critical. You’ll need basic hand tools, power tools, and specific framing supplies. Here’s a practical list to follow:
- Tape Measure: Accurate measurements are the backbone of any framing project. A reliable tape measure is a must-have.
- Level: To ensure your doorway is perfectly vertical, you’ll need a good spirit level.
- Circular Saw: A circular saw will make quick and clean cuts on framing lumber.
- Hammer: A sturdy hammer is essential for driving nails into the framing members.
- Nail Gun: For faster and more efficient nailing, a nail gun is highly useful—though not strictly necessary.
- Saw Horses: These stands will support lumber as you measure and cut.
- Chalk Line: Snap a chalk line for straight cuts and aligning framing members.
- Framing Nails: Use the right size nails for securing the framing components.
- Stud Finder: If you’re tying into existing walls, a stud finder will locate the studs for attachment.
- Utility Knife: For any trimming or cutting of shims and other small adjustments.
- Lumber: This includes studs, headers, and other framing elements specific to your doorway dimensions.
- Shims: Small wooden pieces for making fine adjustments to achieve a plumb and level frame.
Make sure you gather all these items before starting the framing process. Having the necessary tools and materials at hand will save time and help you work efficiently, paving the way for a sturdy and well-crafted doorway frame.
Measuring and Planning the Doorway
Before cutting any wood, careful planning and accurate measuring are essential. This section guides you through this crucial phase of framing a doorway.
To start, determine the finished dimensions of your doorway. This includes the height and width that the door will be. Standard interior door sizes often dictate the measurements, but custom sizes may be necessary depending on your project needs.
Next, mark the location of where the door will go. Use a pencil and a level to ensure your marks are straight and true. Measure twice, cut once is a golden rule in construction to avoid mistakes. Cross-reference measurements to maintain accuracy.
Factor in the space needed for the door jamb and any additional clearance for the door to operate smoothly. The rough opening should be larger than the door size; usually 2 inches wider and 2.5 inches taller are good starting points.
With these initial steps out of the way, you’re ready to move on to cutting and assembling the framing members, putting you one step closer to having a perfectly framed doorway.
Cutting the Framing Members
Once you’ve measured and planned your doorway precisely, it’s time to cut the framing members. This stage transforms raw lumber into the structural components of your doorway. Here’s how to proceed:
- Mark your cuts on the studs: Use your tape measure and a pencil to mark the lumber where you will cut. Ensure each mark is clear and accurate.
- Secure your lumber: Place each stud on the saw horses. Make sure it’s stable before cutting.
- Snap a chalk line: If you’re cutting long, straight lines, a chalk line provides guidance for consistent and precise cuts.
- Use your circular saw: Start with the circular saw for major cuts. Follow your marks and keep your hands steady.
- Cut the header and footer: They are key to framing a doorway. Measure them twice to avoid mistakes. Also, cut the king studs and trimmer studs to the required length.
- Check each piece: After cutting, align them with your level. Each piece should be straight and true.
Take your time with each cut. The quality of your doorway depends on this accuracy. With care, your framing will have the precision it needs for a strong, lasting fit.
Assembling the Door Frame
With all the pieces cut to precision, it’s time to assemble the door frame.
- Begin with the King Studs: Position the king studs where you marked the wall space. Ensure they’re plumb.
- Set the Header: Place the header on top of the trimmer studs. Nail it into place firmly.
- Attach the Trimmer Studs: Secure these alongside the king studs, flush with the header and footer.
- Connect the Cripple Studs: Above the header, install cripple studs at the same intervals as standard studs.
- Install the Footer: If your design includes a footer, now is the time to place and secure it.
- Double-Check for Squareness: Use your level to verify everything is true and square before final fastening.
- Apply Bracing if Needed: Temporarily brace the frame to maintain its position while finishing the rest of the construction.
Remember to take safety precautions during assembly. Wear gloves and eye protection. Check each connection with your level as you go. This way, you ensure the frame’s integrity from the start. With a solid assembly, you set the stage for a smooth door installation.
Erecting the Door Frame
Erecting the door frame is the next crucial step after assembly. It needs focus and precision. Follow these steps to erect your door frame successfully:
- Position the Frame: Lift the assembled frame into the rough opening. Ensure it fits snugly.
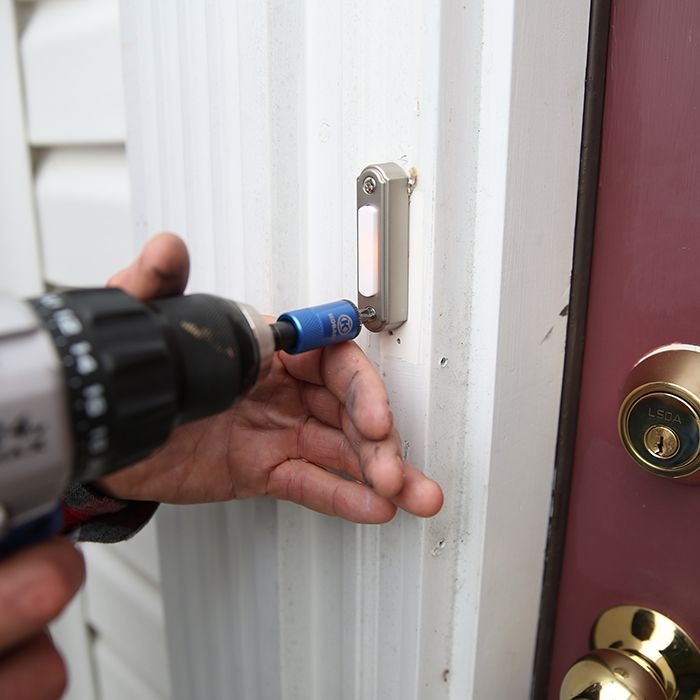
- Secure the King Studs: Attach the king studs to the existing wall studs. Use framing nails for this task.
- Check for Plumb: Use your level to confirm the frame is perfectly vertical. Adjust as needed.
- Fasten the Frame: Nail the sides, top, and bottom of the frame to lock it in place firmly.
- Verify Squareness: Double-check the frame’s squareness with your level. It’s important for door operation.
- Install Shims if Needed: If gaps appear, use shims to adjust the frame alignment.
- Recheck Everything: Before the final steps, confirm all is plumb, level, and secure.
Be thorough and patient during erection. It sets the stage for your doorway’s functionality. You are now ready to move onto ensuring the frame’s straightness and security in coming steps.
Tips for Ensuring a Straight and Secure Frame
After erecting the door frame, it’s crucial to ensure it’s straight and secure. Here are some tips to achieve this:
- Use a Carpenter’s Square: Check the corners of the frame. A carpenter’s square will help identify any issues.
- Apply Wall Shims: Wall shims can correct imperfections in the frame’s alignment. Insert them where necessary.
- Employ a Plumb Bob: A plumb bob can confirm the frame’s vertical alignment is correct.
- Check Door Fit: Before final fastening, place the door within the frame to check for fit. Adjust as required.
- Use Quality Fasteners: Select the right type and size of nails for the frame material. This ensures a secure hold.
- Install Braces if Needed: Temporary braces can hold the frame straight as you fasten it.
- Inspect the Header: Ensure the header is level. It carries weight and impacts the door’s function.
- Double-check Measurements: Always go over your measurements. Correct any issues before finishing.
- Fasten Securely: Nail or screw the frame to the wall studs at multiple points for stability.
- Re-Level Before Finalizing: Check the level one more time before securing everything in place.
Paying attention to these tips when framing a doorway will create a strong and reliable structure for your door. Making sure everything is straight and secure now prevents future issues with the door’s operation.
Finishing Touches: Trimming and Aesthetics
Once the door frame is up and secure, the final phase begins, which involves trimming and adding aesthetic details. These steps are critical for both the door’s appearance and its function. Here’s how to approach the finishing touches:
- Install the Doorstop Molding: This trim piece stops the door from swinging through the frame.
- Apply the Trim: Place trim around the outside of the door frame. Cut to fit precisely.
- Nail the Trim: Use finish nails to attach trim. Make sure it’s straight and even.
- Caulk Gaps: Fill any gaps between the trim and wall with caulk for a clean finish.
- Paint or Stain: Choose a paint or stain that matches your home’s style. Apply evenly.
- Check the Door Swing: Ensure the door opens and closes without catching on the trim.
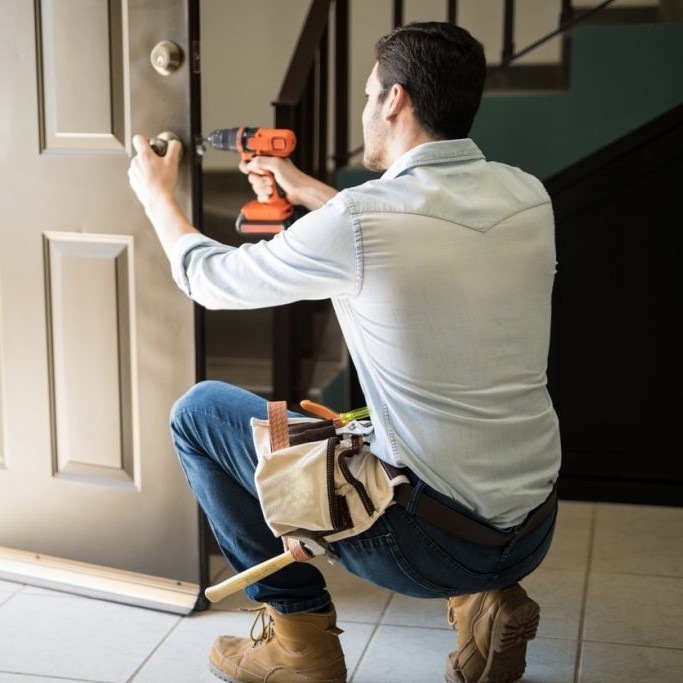
- Install Hardware: Put on doorknobs or handles and locks. Align them correctly for smooth operation.
- Final Inspection: Look over your work. Make any small adjustments to perfect the doorway.
By following these steps, you’ll give your framed doorway the polished look it deserves. It’s important to align details carefully and choose finishes that complement your home’s design. With these final touches, your doorway will not only be functional but also enhance your home’s overall appeal.