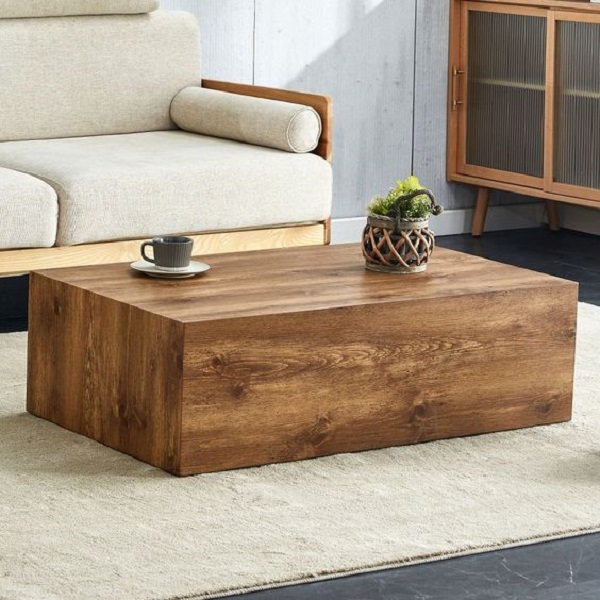
Is your coffee table looking a little worse for wear? Perhaps the finish is scratched or the color simply doesn’t match your décor anymore. Instead of replacing it, consider giving it a fresh coat of paint. Painting a wooden coffee table is a fantastic DIY project that can breathe new life into your living space. With a few simple steps and the right materials, you can transform your tired table into a stylish centerpiece. Let’s explore the process, from preparation to painting techniques, to ensure a flawless and durable finish.
Preparation is Key: Setting the Stage for Success
Before you pick up a paintbrush, thorough preparation is essential for achieving a smooth and long-lasting paint job.
-
Gather Your Supplies: Assemble the necessary materials and tools, including sandpaper, primer, paint, brushes, rollers, painter’s tape, drop cloths, and a cleaning solution.
-
Clean the Surface: Start by cleaning the table thoroughly to remove dust, dirt, and any grease or grime. Use a mild soap and water solution or a wood cleaner specifically designed for furniture.
-
Sanding: Lightly sand the entire table surface with fine-grit sandpaper to create a slightly rough surface for better paint adhesion. This also helps to remove any existing finish or varnish.
-
Repair Imperfections: Fill in any dents, scratches, or cracks with wood filler and allow it to dry completely. Then, sand the repaired areas smooth.
-
Remove Hardware: If your coffee table has any removable hardware like knobs or pulls, remove them before painting. This allows for easier access and prevents paint from getting on them.
-
Protect Your Work Area: Cover your work area with drop cloths or newspapers to protect it from paint spills and drips.
Primer: The Foundation for a Flawless Finish
Primer acts as a bonding agent between the wood and the paint, ensuring better adhesion and a more durable finish.
Choose the Right Primer
Select a primer that’s compatible with your chosen paint type and the type of wood you’re working with. If you’re painting a light color over a dark stain, consider using a stain-blocking primer to prevent bleed-through.
Apply Evenly
Apply a thin, even coat of primer to the entire table surface using a brush or roller. Allow the primer to dry completely according to the manufacturer’s instructions.
Sand Lightly
Once the primer is dry, lightly sand the surface again with fine-grit sandpaper to create a smooth base for the paint.
Painting Techniques: Unleashing Your Creativity
Now comes the exciting part: applying the paint and bringing your design vision to life.
-
Paint Choice: Select a paint that’s suitable for furniture and offers the desired durability and finish. Latex paints are a popular choice for their ease of use and clean-up.
-
Brush or Roller: Choose the appropriate applicator based on your preference and the size and design of your table.
- Brush: Brushes offer more control for intricate details or smaller areas.
- Roller: Rollers provide faster and more even coverage for larger surfaces.
-
Thin Coats: Apply multiple thin coats of paint instead of one thick coat. This allows for better drying and prevents drips or runs. Allow each coat to dry completely before applying the next.
-
Sanding Between Coats: For an ultra-smooth finish, lightly sand the surface with fine-grit sandpaper between coats of paint.
-
Distressing (Optional): If you desire a vintage or distressed look, you can sand certain areas of the table after painting to reveal the wood underneath.
Painting Tips:
- Stir Thoroughly: Stir the paint thoroughly before and during application to ensure even color distribution.
- Start with Edges and Corners: Use a brush to paint the edges, corners, and any intricate details first before tackling the larger surfaces with a roller.
- Work in a Well-Ventilated Area: Ensure adequate ventilation to avoid inhaling paint fumes.
- Clean Up Promptly: Clean your brushes and rollers immediately after use to prevent the paint from drying and hardening.
Painting a wooden table is a fantastic way to refresh your living space and add a touch of personality to your furniture. With proper preparation, the right materials, and a bit of creativity, you can transform a tired table into a stylish centerpiece that complements your décor.
Remember, the key is to be patient and take your time. Thorough preparation, even paint application, and proper drying times will ensure a beautiful and durable finish that you’ll enjoy for years to come.
Sealing the Deal: Protecting Your Painted Masterpiece
Once your paint is fully dry, it’s crucial to seal the surface to protect it from scratches, spills, and everyday wear and tear.
-
Clear Coat Options: Choose a clear coat sealant that’s compatible with your chosen paint type. Options include polyurethane, varnish, or lacquer.
-
Application: Apply the clear coat in thin, even layers, following the manufacturer’s instructions. Allow each coat to dry completely before applying the next.
-
Sanding Between Coats (Optional): For an ultra-smooth finish, lightly sand the surface with fine-grit sandpaper between coats of clear coat.
-
Curing Time: Allow the final coat of clear coat to cure completely before using the table. This may take several days, so be patient and avoid placing any objects on the surface until it’s fully cured.
Design Ideas: Unleashing Your Creativity
The beauty of a DIY project like this is the freedom to customize and express your unique style. Let’s explore some design ideas to spark your imagination.
- Bold Colors: Make a statement with a vibrant color that complements your existing décor.
- Geometric Patterns: Use painter’s tape to create geometric patterns or stripes for a modern and graphic look.
- Stencils and Decals: Stencils or decals offer an easy way to add intricate designs or motifs to your coffee table.
- Distressed Finish: Achieve a vintage or rustic look by sanding or distressing certain areas of the painted surface.
- Chalkboard Paint: Transform your table into a functional and interactive surface by using chalkboard paint.
Upcycling and Repurposing: Giving Old Tables New Life
Instead of buying a new coffee table, consider upcycling or repurposing an old one. This not only saves money but also adds a unique and sustainable touch to your home.
- Thrift Store Finds: Scour thrift stores or flea markets for hidden gems that can be transformed with a fresh coat of paint.
- Family Heirlooms: Give an old family heirloom a modern makeover with a new paint job.
- DIY Projects: Repurpose old doors, pallets, or other salvaged materials into unique tables.
Maintenance and Care: Preserving Your Handiwork
Once your coffee table is beautifully painted and sealed, proper care and maintenance will ensure its longevity and beauty.
-
Regular Cleaning: Wipe down the table surface with a damp cloth and mild soap to remove dust and spills. Avoid harsh chemicals or abrasive cleaners that can damage the finish.
-
Protect from Heat and Moisture: Use coasters and placemats to protect the surface from hot dishes and spills.
-
Avoid Scratches: Be mindful of sharp objects or heavy items that can scratch the surface.
-
Refinishing: If the paint or clear coat starts to show signs of wear and tear, consider refinishing the table to restore its appearance.
Conclusion
Painting a wood coffee table is a fantastic DIY project that can revitalize your living space and add a personal touch to your décor. With careful preparation, the right materials, and a bit of creativity, you can transform an old or plain table into a stylish and functional centerpiece.
Remember, the key to success is patience and attention to detail. Take your time, follow the steps carefully, and don’t be afraid to experiment with different colors and techniques. With a little effort, you’ll create a beautiful and durable finish that you’ll be proud of.