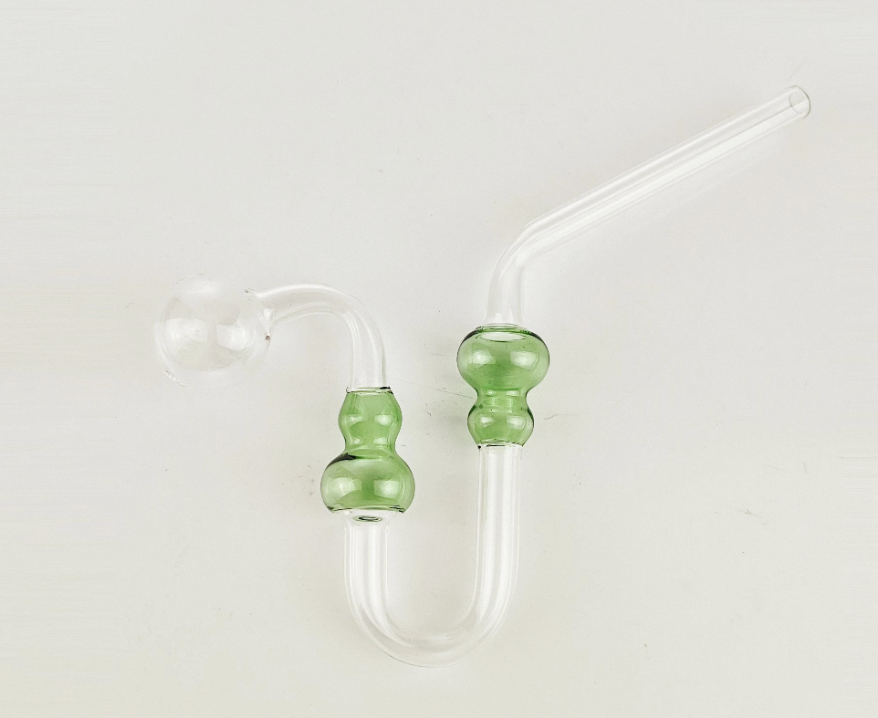
Oil burner pipes are a popular choice for smoking concentrates, but they can be expensive to buy. Fortunately, it’s possible to make your own oil burner pipe using materials that you may already have at home. In this post, we’ll be looking at how to make your own oil burner pipe.

Choosing Your Materials
The first step in making your own oil burner pipe is to choose your materials. You’ll need a few basic materials, including a glass tube, a glass bottle, a cork, and a drill with a glass drill bit.
For the glass tube, you can use a borosilicate glass stirring rod or a glass test tube. These can be found online or at a scientific supply store. For the glass bottle, you can use a small glass bottle or vial, such as a perfume or essential oil bottle.
The cork will be used to seal the bottle, so make sure to choose one that fits snugly in the opening. You can also use a rubber stopper if you prefer.
Preparing Your Materials
Once you have your materials, it’s time to prepare them for assembly. Use the glass drill bit to drill a hole in the cork or rubber stopper. Make sure the hole is the same size as the glass tube so that it fits snugly inside.
Next, use the glass drill bit to drill a hole in the glass bottle. This hole should be slightly larger than the glass tube so that it fits inside. Make sure to drill the hole near the bottom of the bottle to allow for easy access to the concentrate.
Assembling Your Oil Burner Pipe
Now it’s time to assemble your oil burner pipe. Insert the glass tube into the hole in the cork or rubber stopper and push it through until it reaches the other side. This will be the stem of your pipe.
Insert the cork or rubber stopper into the glass bottle and push it down until it’s snugly in place. This will be the bowl of your pipe.
To use your oil burner pipe , you’ll need to heat the bottom of the glass bottle using a torch or lighter. Hold the flame to the bottom of the bottle and rotate it around the edges, making sure not to touch the glass with the flame. As the bottle heats up, the concentrate will start to vaporize and you can inhale the smoke through the glass tube.
Cleaning and Maintaining Your Oil Burner Pipe
Once you’ve finished using your oil burner pipe, it’s important to clean and maintain it properly. This will help to prevent any buildup of resin or other substances that can affect your smoking experience.
To clean your pipe, first remove the glass tube and cork or rubber stopper. Fill the glass bottle with a cleaning solution or rubbing alcohol, and let it sit for a few minutes. Use a pipe cleaner or cotton swab to clean the inside of the bottle and stem, making sure to remove any buildup of resin or other substances.
Rinse the pipe with hot water and let it dry completely before using it again. You can also use a specialized pipe cleaner brush to clean the glass tube and stem.
To maintain your oil burner pipe, make sure to store it in a safe and secure location when not in use. Avoid dropping or banging the pipe, as this can cause it to crack or break.
Conclusion
Making your own oil burner pipe can be a great way to save money and enjoy your smoking experience. By choosing high-quality materials, preparing them properly, and assembling your pipe carefully, you can create a pipe that works just as well as a store-bought one.
Remember to clean and maintain your pipe regularly to keep it in good condition and ensure that you’re always getting the best smoking experience possible. With these tips, you’ll be able to enjoy your homemade oil burner pipe with ease and confidence. Happy smoking!