Bathrooms are often the smallest rooms in any house, and therefore, they can quickly become cluttered and disorganized. It can be challenging to keep all of the necessary toiletries and products organized and within reach, especially if you have multiple people sharing the same bathroom. However, with the right storage solutions, you can maximize the space you have and keep everything organized.
One of the best ways to maximize your bathroom storage is by installing shower shelves. Shower shelves are not only practical, but they can also add a stylish element to your bathroom decor.
Step 1: Choose the Right Type of Shower Shelf
The first step in maximizing your bathroom storage with shower shelves is to choose the right type of shelf. There are several different types of shower shelves available, including:
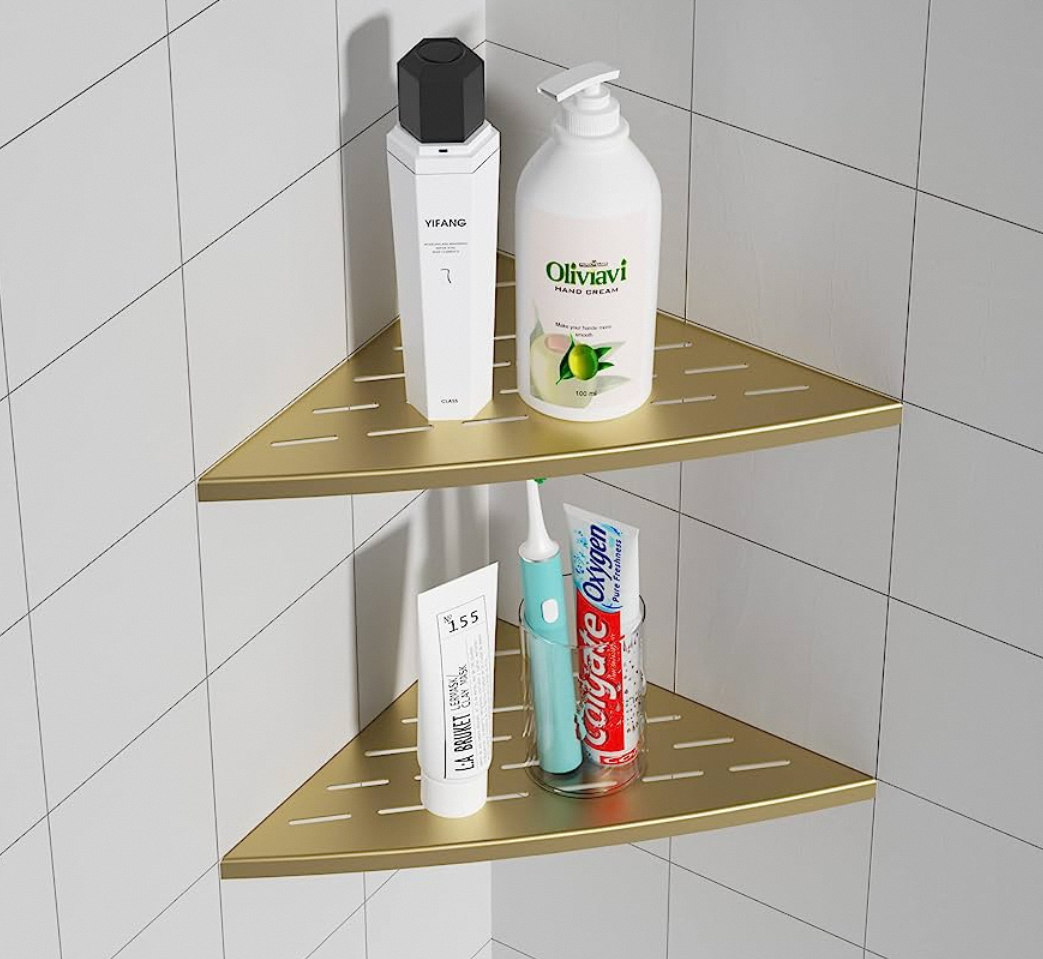
Corner Shower Shelves: Corner shower shelves are designed to fit into the corner of your shower, making them perfect for small bathrooms. These shelves can be made from a variety of materials, including glass, plastic, and metal.
Hanging Shower Shelves: Hanging shower shelves are great for those who do not want to install anything permanently. These shelves hang from the showerhead or tension rod and can be easily removed when not in use.
Built-In Shower Shelves: Built-in shower shelves are installed directly into the shower wall. These shelves can be made from a variety of materials, including tile, stone, and glass.
When choosing the right type of shower shelf for your bathroom, consider the amount of space you have available, your budget, and your personal style preferences.
Step 2: Measure the Space
Before you can install your new shower shelves, you will need to measure the space where you want to install them. Use a tape measure to determine the height, width, and depth of the space. This will help you determine the size of the shelf you need to purchase.
Step 3: Gather Your Tools and Materials
To install your new shower shelf, you will need the following tools and materials:
Shower Shelf: Choose the type of shower shelf that best suits your needs.
Measuring Tape: Use a measuring tape to measure the space where you want to install the shelf.
Level: A level will help ensure that your shelf is installed straight.
Drill and Drill Bits: You will need a drill and drill bits to make the necessary holes in the shower wall.
Screws and Anchors: Depending on the type of shower shelf you choose, you may need screws and anchors to secure the shelf to the wall.
Caulk: Caulk will help seal any gaps between the shelf and the shower wall.
Screwdriver: You will need a screwdriver to tighten any screws used in the installation process.
Step 4: Prepare the Shower Wall
Before you can install your new shower shelf, you will need to prepare the shower wall. Use a clean cloth to wipe down the area where you want to install the shelf. This will remove any dirt, grime, or soap scum that may interfere with the installation process.
Step 5: Mark the Placement of the Shelf
Using a pencil, mark the placement of the shelf on the shower wall. Use your measuring tape to ensure that the marks are evenly spaced and straight.
Step 6: Drill the Holes
Using your drill and the appropriate drill bit, drill the necessary holes into the shower wall. If you are unsure of the size of the drill bit to use, consult the instructions that came with your shower shelf.
Step 7: Install the Anchors
If your shower shelf requires anchors, insert them into the holes you drilled in the previous step.
Step 8: Install the Shelf
Once the anchors are in place, you can install the shower shelf. Depending on the type of shelf you chose, this may involve using screws or other hardware to secure the shelf to the wall. Be sure to tighten any screws or hardware completely.
Step 9: Seal the Edges
Using caulk, seal the edges of the shower shelf where it meets the shower wall. This will help prevent water from getting behind the shelf and causing damage.
Step 10: Allow the Caulk to Dry
Allow the caulk to dry completely before using your new shower shelf. This can take anywhere from several hours to a full day, depending on the type of caulk you used.
Installing shower shelves is an excellent way to maximize your bathroom storage and keep everything organized. With the right tools and materials, it is a relatively simple process that can be completed in just a few hours. By following these steps, you can install your new shower shelves quickly and easily, and enjoy a more organized and clutter-free bathroom.