Wood veneer is a versatile and beautiful material that can be used in a wide range of DIY projects. From furniture making to home décor, wood veneer can add a touch of natural warmth and texture to any project.
Tips for Working with Wood Veneer
Before we dive into specific projects, here are some tips for working with wood veneer:
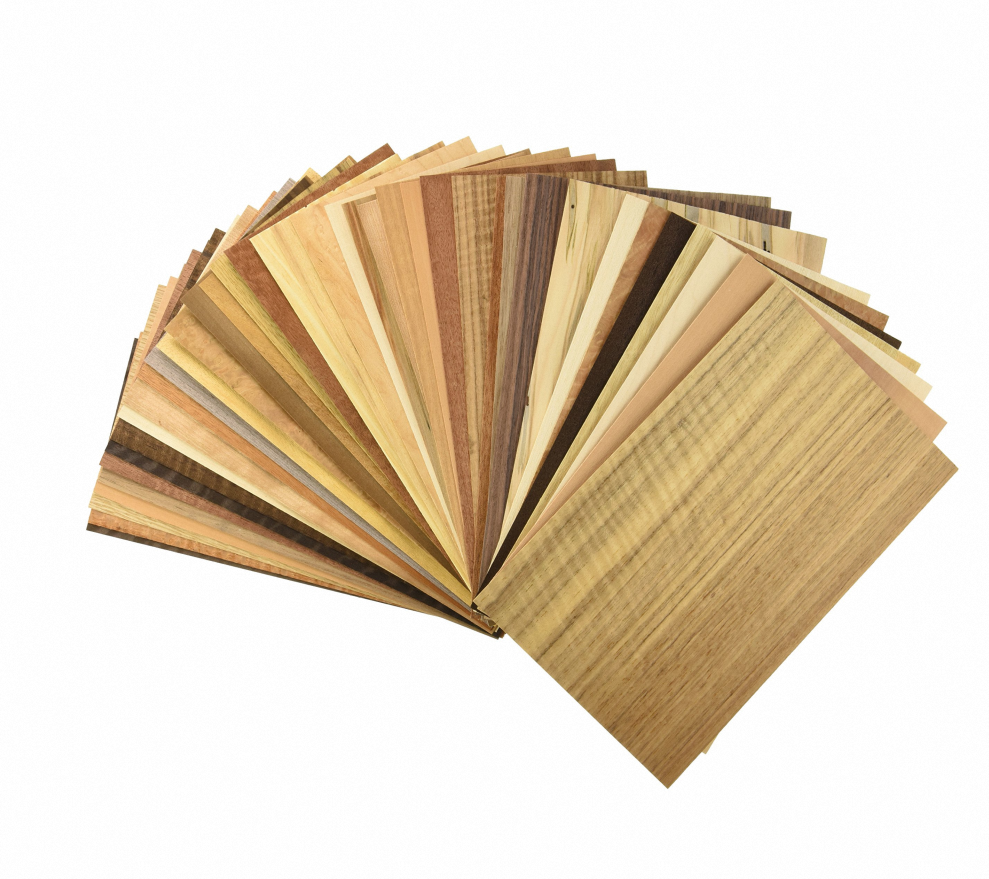
Choose the Right Veneer:
Wood veneer comes in a wide range of colors, patterns, and textures. When choosing veneer for your project, consider the style and design of your project, as well as the durability and stability of the veneer.
Prepare the Surface:
To ensure that the veneer adheres properly to the substrate, prepare the surface by sanding it down and cleaning it thoroughly. This will help to remove any dirt, oil, or other debris that may interfere with the adhesion of the veneer.
Use the Right Glue:
When working with wood veneer, it is important to use the right type of glue. Contact cement is often used to adhere veneer to a substrate, as it provides a strong and durable bond.
Trim the Edges:
Once the veneer is applied to the substrate, trim the edges using a sharp utility knife or razor blade. This will help to create a clean and precise edge, and will also help to prevent the veneer from peeling or lifting over time.
Apply a Finish:
To protect the veneer and enhance its natural beauty, apply a finish such as varnish, lacquer, or oil. This will help to seal the veneer and prevent it from warping or cracking over time.
DIY Projects Using Wood Veneer
Now that you have some tips for working with wood veneer, let’s explore some DIY projects that you can try at home.
Create a Wood Veneer Lampshade
One of the easiest projects you can do with wood veneer is to create a lampshade. To create a wood veneer lampshade, you will need a lampshade frame, wood veneer, and contact cement.
Start by cutting the wood veneer into strips that are slightly wider than the lampshade frame. Apply a thin layer of contact cement to both the veneer and the frame, and then press the veneer onto the frame, smoothing out any wrinkles or bubbles as you go. Once the veneer is in place, trim the edges using a sharp knife or razor blade.
Once the veneer is in place, you can add a finish to protect it and enhance its natural beauty. You can use a clear varnish or lacquer, or you can apply a stain to darken the veneer and create a more rustic look.
Make a Wood Veneer Picture Frame
Another easy project you can do with wood veneer is to create a picture frame. To create a wood veneer picture frame, you will need a photo mat, wood veneer, and contact cement.
Start by measuring the size of the photo mat, and then cut the wood veneer to fit. Apply a thin layer of contact cement to both the veneer and the mat, and then press the veneer onto the mat, smoothing out any wrinkles or bubbles as you go.
Once the veneer is in place, you can trim the edges using a sharp knife or razor blade. To finish the frame, you can add a clear varnish or lacquer, or you can apply a stain to darken the veneer and create a more rustic look.
Build a Wood Veneer Coffee Table
For a more substantial project, you can try building a wood veneer coffee table. To build a wood veneer coffee table, you will need a plywood or MDF substrate, wood veneer, and contact cement.
Start by cutting the substrate to the desired size and shape of the coffee table. Then, cut the wood veneer into strips that are slightly wider than the substrate. Apply a thin layer of contact cement to both the veneer and the substrate, and then press the veneer onto the substrate, smoothing out any wrinkles or bubbles as you go.
Once the veneer is in place, you can trim the edges using a sharp knife or razor blade. To finish the table, you can add a clear varnish or lacquer, or you can apply a stain to darken the veneer and create a more rustic look.